The crossword clue “Manually adjusted camera lens” has gained popularity in recent puzzles, particularly in the LA Times. It refers to a photography term that describes a lens adjusted without automatic settings, often related to focus or zoom. This clue is ideal for photography enthusiasts and crossword solvers alike, offering a challenging yet rewarding puzzle experience. The answer, OPTICALZOOM, highlights the importance of manual adjustments in capturing high-quality images, making it a significant term in both photography and crossword contexts.
1.1 Overview of the Crossword Puzzle
Crossword puzzles are a beloved and intellectually stimulating activity enjoyed by people worldwide. They typically feature a square grid with clues for both “Across” and “Down” directions, challenging solvers to fill in the correct words. These puzzles are not only entertaining but also enhance vocabulary, cognitive skills, and logical thinking. The clue “Manually adjusted camera lens” recently appeared in the LA Times crossword, offering a fun and educational challenge for participants. Such clues attract both photography enthusiasts and casual solvers, making crosswords a versatile and engaging pastime that combines knowledge and enjoyment in a unique way, appealing to a broad audience.
1.2 Importance of Understanding Camera Lens Terminology
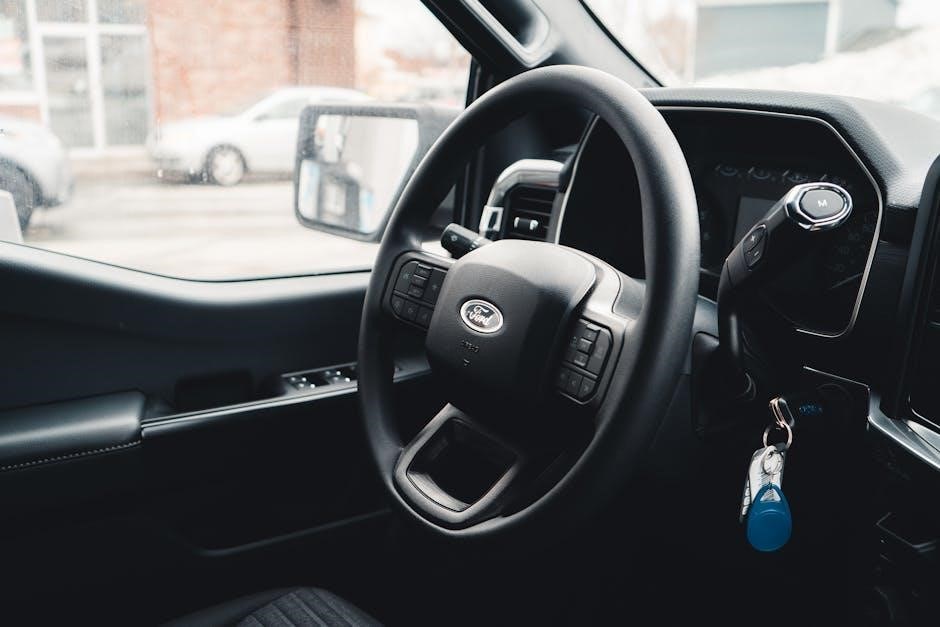
Understanding camera lens terminology is crucial for photographers and crossword enthusiasts alike. Terms like “manual focus,” “aperture,” and “zoom” are essential for controlling camera settings and achieving desired effects. Knowledge of these terms not only enhances photography skills but also aids in solving crossword clues related to camera lenses. For instance, understanding “optical zoom” versus “digital zoom” can help identify the correct answer in a puzzle. This terminology is often used in crosswords, making it a valuable skill for solvers. By familiarizing oneself with these terms, one can better navigate both the world of photography and crossword challenges, bridging the gap between creativity and problem-solving.
The Crossword Clue: Manually Adjusted Camera Lens
The crossword clue “Manually adjusted camera lens” was last seen in the LA Times on May 27, 2024. The answer is OPTICALZOOM, an 11-letter term describing a lens adjusted manually to focus on subjects at varying distances, enhancing image quality without digital interpolation. This clue is popular among photography enthusiasts and crossword solvers, offering a challenging yet rewarding puzzle experience.
2.1 Breaking Down the Clue
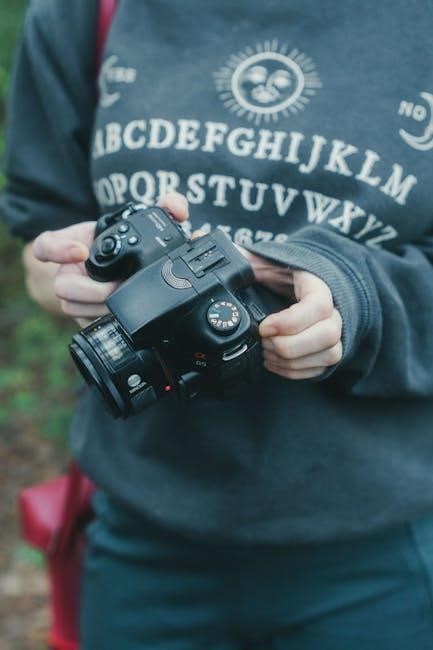
The crossword clue “Manually adjusted camera lens” can be broken down into two key components: “manually adjusted” and “camera lens.” The term “manually adjusted” refers to a feature that requires physical operation rather than automatic settings. In photography, this often relates to focus or zoom adjustments made by the photographer. The phrase “camera lens” narrows the context to optical equipment used in photography. Combining these elements, the clue points to a specific photography term. The answer, OPTICALZOOM, fits perfectly, as it describes a lens feature that is manually adjusted to focus on subjects at varying distances. This breakdown helps solvers connect the clue to the correct terminology, making it easier to identify the solution.
2.2 Historical Context of the Clue
The crossword clue “Manually adjusted camera lens” has roots in the evolution of photography technology. Historically, photographers relied on manual adjustments for focus and zoom, as automatic features were not prevalent. The term “optical zoom” emerged with advancements in lens technology, allowing manual control over image framing. This clue reflects the transition from manual to automatic camera settings, highlighting the importance of understanding traditional photography techniques. Its inclusion in crosswords like the LA Times puzzle underscores its relevance as a test of both photographic knowledge and terminology. The clue’s historical context ties it to the foundational skills of photography, making it a timeless challenge for solvers.
The Solution to the Crossword Clue
The crossword clue “Manually adjusted camera lens” refers to a lens feature controlled by hand, specifically optical zoom, allowing manual focal length adjustment. The answer is OPTICALZOOM.
3.1 Revealing the Answer: OPTICALZOOM
The crossword clue “Manually adjusted camera lens” points to the term OPTICALZOOM, a feature in photography that allows manual adjustment of a lens’s focal length. This 11-letter word fits perfectly into the puzzle, as it describes a lens function controlled by hand, enabling photographers to zoom in or out without relying on automatic settings. Optical zoom is distinct from digital zoom, as it physically moves lens elements to change the focal length, ensuring image quality remains high. This term is widely recognized in photography and crossword communities, making it the ideal solution for enthusiasts solving the clue.
3.2 Explanation of OPTICALZOOM in Photography
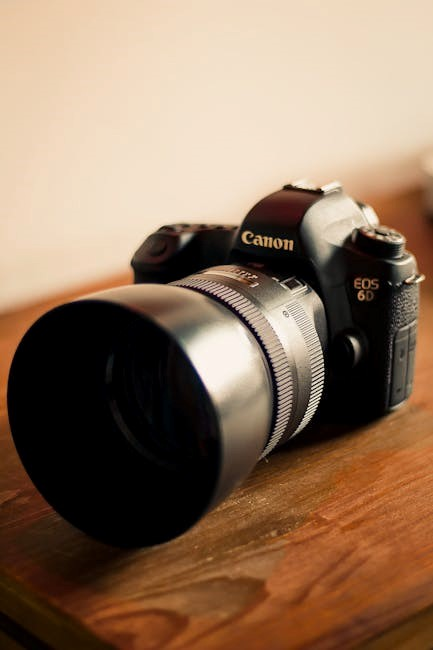
OPTICALZOOM refers to a camera lens’s ability to manually adjust its focal length, allowing photographers to zoom in or out without losing image quality. Unlike digital zoom, which simply crops the image, optical zoom physically moves the lens elements to change the angle of view. This feature is highly valued in photography as it maintains sharpness and detail, especially in professional settings. Optical zoom is commonly used in DSLR and mirrorless cameras, offering precise control over framing and composition. It is a fundamental tool for capturing high-quality images, making it a key term in both photography and crossword puzzles like the “Manually adjusted camera lens” clue.

Related Terms and Concepts
Aperture, focal length, and manual focus are key terms related to camera lenses, often appearing in crossword clues. These concepts enhance understanding of photography and puzzle-solving, making them essential for enthusiasts.
4.1 F-Stop: Understanding Aperture Adjustments
F-Stop is a fundamental concept in photography, representing the ratio of the lens aperture to its focal length. It controls the amount of light entering the camera and the depth of field. Lower F-Stop values (e.g., f/2.8) mean a larger aperture, while higher values (e.g., f/16) indicate a smaller opening. Manually adjusting the F-Stop allows photographers to achieve desired effects, such as blurred backgrounds or sharp landscapes. This term is often linked to crossword clues like “Manually adjusted camera lens,” where understanding aperture adjustments is key to solving the puzzle. It’s a vital skill for both photographers and solvers.
4.2 Focus: Manual vs. Autofocus in Photography
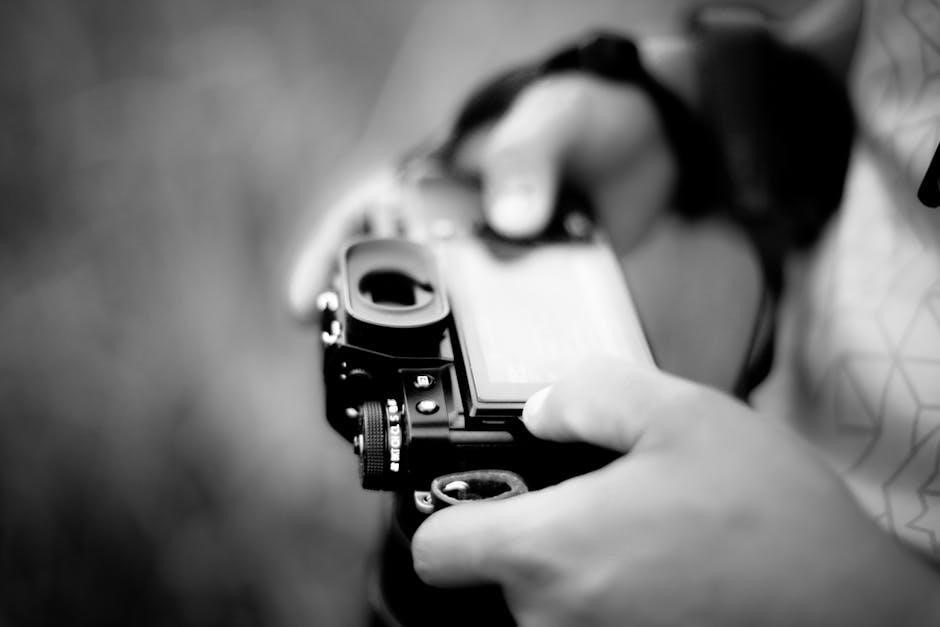
Focus is crucial in photography, determining the sharpness and clarity of an image. Manual focus requires the photographer to adjust the lens directly, offering precise control but demanding skill and patience. Autofocus, on the other hand, automatically adjusts the lens for quick and convenient operation. The choice between manual and autofocus depends on the situation, with manual focus often preferred for creative control and autofocus for fast-moving subjects. This distinction is relevant to crossword clues like “Manually adjusted camera lens,” where understanding the mechanics of focus enhances both photography and puzzle-solving skills, making it a valuable concept for enthusiasts to master and apply.
4.3 Zoom: Optical vs. Digital Zoom Explained
Zoom in photography refers to the ability to enlarge or reduce the subject’s image. Optical zoom uses the camera lens to physically adjust the focal length, maintaining image quality. Digital zoom, however, crops the image sensor’s data, reducing resolution and clarity. Optical zoom is preferred for professional photography as it preserves detail, while digital zoom is convenient but less precise. The crossword clue “Manually adjusted camera lens” often relates to optical zoom, as it involves physical lens adjustments. Understanding the difference between these zoom types is essential for photographers and crossword enthusiasts, highlighting the importance of manual controls in achieving desired visual effects.
Manual Adjustments in Photography
Manual adjustments in photography allow precise control over camera settings, enabling photographers to achieve desired effects. Key components like focus, aperture, and shutter speed can be manually tweaked for optimal results. This level of control is essential for professional photography, ensuring creativity and technical accuracy in every shot.
5.1 The Role of Manual Focus in Photography
Manual focus plays a crucial role in photography, offering photographers precise control over their images. Unlike autofocus, manual focus allows for deliberate creative decisions, ensuring the subject is exactly where the photographer intends. This is particularly useful in macro photography or when capturing intricate details. Manual focus also enhances control in low-light conditions, where autofocus may struggle. Many professional photographers prefer manual focus for its accuracy and the ability to achieve the desired visual impact. It demands skill and practice but rewards with unparalleled creativity and precision, making it an essential tool in a photographer’s arsenal for achieving exceptional results.
5.2 Adjusting Aperture for Desired Effects
The answer to the crossword clue “Manually adjusted camera lens” is OPTICALZOOM.
Step-by-Step Explanation:
Understanding the Clue: The clue refers to a part of a camera lens that is manually adjusted.
Considering Parts of a Lens: Manual adjustments on a lens typically involve focus, aperture, or zoom.
Differentiating Zoom Types:
⎻ Optical Zoom: Involves moving the lens elements to change the focal length, providing a closer view without losing image quality.
— Digital Zoom: Cropping the image sensor, not a physical lens adjustment.
Answer: OPTICALZOOM
5.3 Importance of Manual Settings in Professional Photography
Manual settings are crucial in professional photography as they allow photographers to achieve precise control over their images. By adjusting aperture, ISO, and shutter speed manually, photographers can create specific effects and ensure optimal image quality. Understanding how these elements interact is essential for capturing the desired mood or style in a photograph. Manual adjustments also enable photographers to adapt to changing lighting conditions quickly and efficiently. This level of control is particularly vital in professional contexts, where creativity and technical accuracy are paramount. Mastering manual settings is a cornerstone skill for any serious photographer aiming to produce high-quality, visually stunning work consistently.
Tools and Equipment for Manual Adjustments
Essential tools for manual adjustments include tripods, remote shutter releases, and high-quality camera lenses. These tools enhance stability and precision, ensuring optimal control during photography sessions.
6.1 Essential Camera Lenses for Manual Control
Prime lenses, macro lenses, and wide-angle lenses are indispensable for manual control in photography. Prime lenses, with their fixed focal length, allow precise aperture and focus adjustments, ensuring sharpness and clarity. Macro lenses are ideal for capturing intricate details, offering exceptional close-up capabilities. Wide-angle lenses, often used for landscapes, enable manual control over depth of field and perspective. These lenses, when paired with manual focus and aperture adjustments, provide photographers with the creative freedom to achieve desired visual effects. They are essential tools for professionals and enthusiasts alike, enhancing the precision and artistry of manual photography.
6.2 Tripods: Stabilizing Your Camera for Manual Shots
Tripods are essential for stabilizing cameras during manual shots, ensuring sharp images by eliminating camera shake. They are particularly useful for low-light conditions, long exposures, or when using manual focus. A sturdy tripod allows photographers to make precise adjustments to aperture, shutter speed, and composition without worrying about movement. Carbon fiber and aluminum tripods are popular choices for their durability and portability. Key features include a smooth pan-tilt head and adjustable legs for uneven terrain. By securing the camera, tripods enable photographers to focus on manual settings confidently, making them indispensable for professional and amateur photographers alike.
6.3 Remote Shutter Release: Minimizing Camera Shake
A remote shutter release is a vital tool for minimizing camera shake during manual shots. By triggering the shutter remotely, photographers avoid physical contact with the camera, reducing vibrations that can blur images. This is especially crucial for long exposures, macro photography, or when using manual focus. Remote shutters come in various forms, including infrared remotes, cable releases, and smartphone apps. They enhance stability, allowing for sharper, professional-quality photos. Using a remote shutter release ensures precision and consistency, making it an indispensable accessory for photographers aiming to capture flawless shots, particularly in low-light conditions or when using slow shutter speeds. It’s a simple yet effective solution for achieving optimal results.
Tips for Solving Crossword Puzzles
Start with clues you know to build momentum. Use word patterns, prefixes, and suffixes to decode unknown answers. Crossword solver tools can help verify solutions quickly.
7.1 Strategies for Tackling Photography-Related Clues
When solving photography-related crossword clues, start by identifying key terms like lens, zoom, or focus. Look for common prefixes or suffixes, such as “OPTICAL” or “MANUAL,” which often appear in photography terminology. Breaking down the clue into smaller parts can help uncover the answer. For example, “manually adjusted camera lens” hints at a term like OPTICALZOOM, a feature frequently adjusted manually. Additionally, consider word patterns and related concepts, such as F-STOP or MACRO, to narrow down possibilities. Using online crossword solvers or photography glossaries can also provide quick insights, making the process more efficient and enjoyable for solvers.
7.2 Using Word Patterns to Decode Clues
Decoding crossword clues often relies on recognizing word patterns. For the “manually adjusted camera lens” clue, focusing on the phrase “manually adjusted” suggests a term related to camera settings. The word “lens” narrows it down to photography equipment. By identifying common prefixes like “OPTICAL” or suffixes like “ZOOM,” solvers can piece together the answer. The clue’s 11-letter length further hints at OPTICALZOOM, a term that fits both the description and the letter count. Paying attention to such patterns helps solvers efficiently decode clues, especially in photography-related crosswords where specific terminology is key to finding the correct answer.
7.3 Crossword Solver Tools and Resources
Crossword solver tools and resources are invaluable for tackling challenging clues like “manually adjusted camera lens.” Websites like crossword-solver.io and Crossword Clue Solver offer extensive databases of clues and answers, enabling quick searches. Mobile apps such as Crossword Buddy provide on-the-go assistance. These tools often utilize historical puzzle data to suggest potential answers, making them highly effective for obscure or less-common terms. Additionally, forums and communities dedicated to crossword enthusiasts can offer insights and strategies. While these resources simplify the solving process, they also encourage learning and understanding of complex terminology, enhancing both puzzle-solving skills and vocabulary expansion.
The Role of Crossword Puzzles in Learning
Crossword puzzles like the “manually adjusted camera lens” clue enhance learning by introducing new terms and concepts in an engaging, interactive way, fostering vocabulary expansion and critical thinking skills.
8.1 Enhancing Vocabulary Through Crosswords
Crossword puzzles, such as the “manually adjusted camera lens” clue, are excellent tools for expanding vocabulary. They introduce players to specialized terms and encourage learning in a fun, interactive way. By solving clues like this, individuals gain familiarity with photography-related words such as OPTICALZOOM, which might not be part of their everyday language. This engagement with new words enhances memory retention and broadens linguistic understanding. Crosswords also foster a deeper appreciation for language structure and semantics, making them a valuable resource for anyone looking to improve their vocabulary and cognitive skills in an enjoyable manner. They truly make learning feel like a game.
8.2 Improving Cognitive Skills with Regular Practice
The answer to the crossword clue “Manually adjusted camera lens” is OPTICAL ZOOM. This term refers to the physical movement of a camera lens to adjust the focal length, allowing for zooming in or out without losing image quality. Unlike digital zoom, which enlarges the image through software, optical zoom requires manual adjustment of the lens. This feature is highly valued in photography for maintaining clarity and precision in captured images;
8.3 Crosswords as a Fun Educational Tool
Crossword puzzles are an engaging and enjoyable way to expand knowledge and skills. They challenge the mind, fostering critical thinking and problem-solving abilities. The “manually adjusted camera lens” clue, for instance, introduces players to photography terminology, enhancing their understanding of optical zoom and its role in capturing images. Solving crosswords builds confidence and sharpens memory, making learning a delightful experience. They also encourage interdisciplinary learning, connecting photography with language and vocabulary. This blend of entertainment and education makes crosswords a valuable tool for intellectual growth, appealing to both casual solvers and photography enthusiasts seeking to broaden their expertise.
The crossword clue “Manually adjusted camera lens” offers a fun and educational challenge, revealing answers like OPTICALZOOM while enhancing vocabulary and photography knowledge in an engaging way.
9.1 Summary of Key Points
The crossword clue “Manually adjusted camera lens” has been a popular and engaging puzzle, particularly in the LA Times. The solution, OPTICALZOOM, refers to a lens feature allowing manual adjustments for focus and zoom. This clue bridges photography terminology and crossword enthusiasts, offering a fun challenge. It emphasizes the importance of manual controls in photography, highlighting their role in professional and creative image capture. Solving such clues enhances vocabulary and understanding of technical terms while providing an enjoyable mental exercise. The clue’s popularity underscores the intersection of photography and puzzles, making it a memorable and educational experience for solvers.
9.2 Final Thoughts on the Manually Adjusted Camera Lens Clue
The “Manually adjusted camera lens” crossword clue, recently featured in the LA Times, offers a fascinating challenge that bridges photography enthusiasts and puzzle solvers. The answer, OPTICALZOOM, highlights the importance of manual adjustments in capturing high-quality images. This clue not only tests knowledge of photography terminology but also enhances problem-solving skills and vocabulary. Engaging with such clues demonstrates how crosswords can be both entertaining and educational, providing a mental workout while deepening understanding of specialized terms, all while offering the satisfaction of uncovering the correct answer.