Welcome to the Singer Sewing Machine 237 manual‚ your comprehensive guide to understanding and operating this versatile sewing machine. This manual covers essential topics like threading‚ bobbin management‚ maintenance‚ and troubleshooting‚ ensuring you get the most out of your sewing experience.
1.1 Overview of the Singer Sewing Machine 237
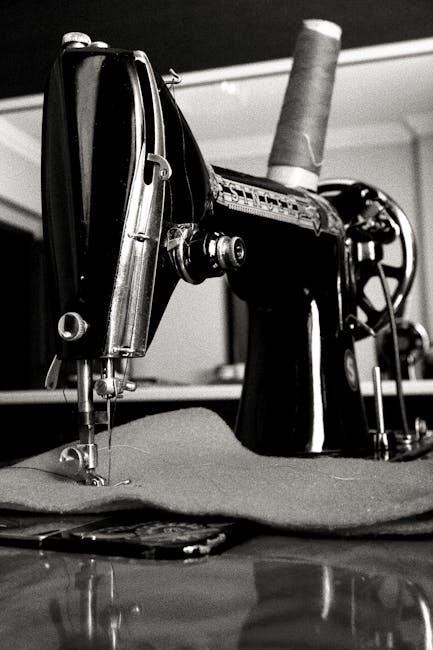
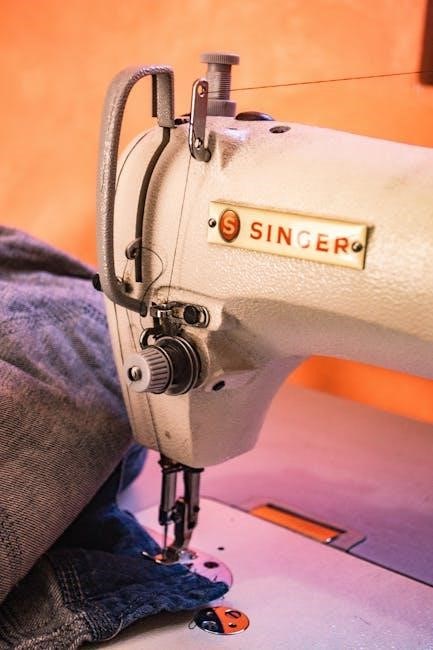
The Singer Sewing Machine 237 is a versatile and durable model designed for home sewing and crafting. It features an electric drive system and optional treadle drive‚ offering smooth operation. With its user-friendly design‚ this machine is ideal for both beginners and experienced sewists‚ supporting various sewing tasks with ease and precision.
1.2 Importance of the Manual for Proper Operation
The Singer 237 manual is crucial for mastering your machine‚ detailing steps for threading‚ tension adjustment‚ and troubleshooting. It provides clear instructions to ensure optimal performance‚ prevent damage‚ and enhance your sewing experience. Referencing the manual regularly helps maintain the machine’s efficiency and longevity‚ making it an indispensable resource for all users.
Principal Parts of the Singer Sewing Machine 237
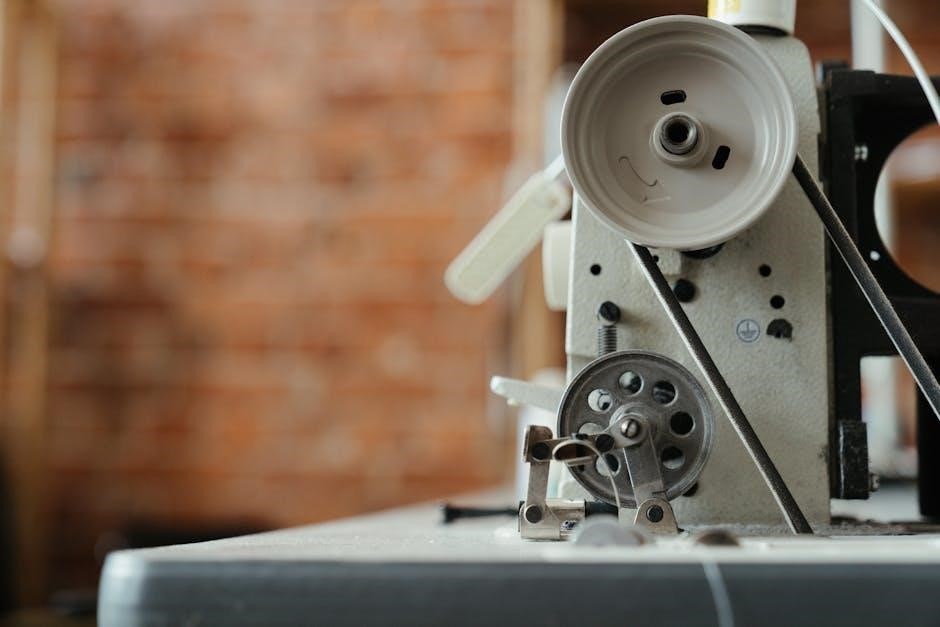
The Singer 237 features key components like spool pins‚ take-up lever‚ tension discs‚ presser foot‚ and bobbin case. Understanding these parts is essential for effective operation and maintenance.
2.1 Identification of Key Components
The Singer 237 sewing machine features essential parts like the spool pin‚ take-up lever‚ tension discs‚ and presser foot. The bobbin case and stitch selector are also vital. Identifying these components helps in understanding their roles and ensures proper machine setup and operation. Familiarizing yourself with each part is the first step toward mastering the machine’s functionality.
2.2 Understanding the Machine’s Layout
The Singer 237’s layout is designed for intuitive operation. Key components like the spool pin‚ tension discs‚ and stitch selector are strategically placed for easy access. The machine’s ergonomic design ensures controls such as the speed controller and stitch length dial are within reach‚ promoting efficient and comfortable sewing. Understanding this layout enhances your ability to navigate and utilize the machine’s features effectively.

Threading the Singer Sewing Machine 237
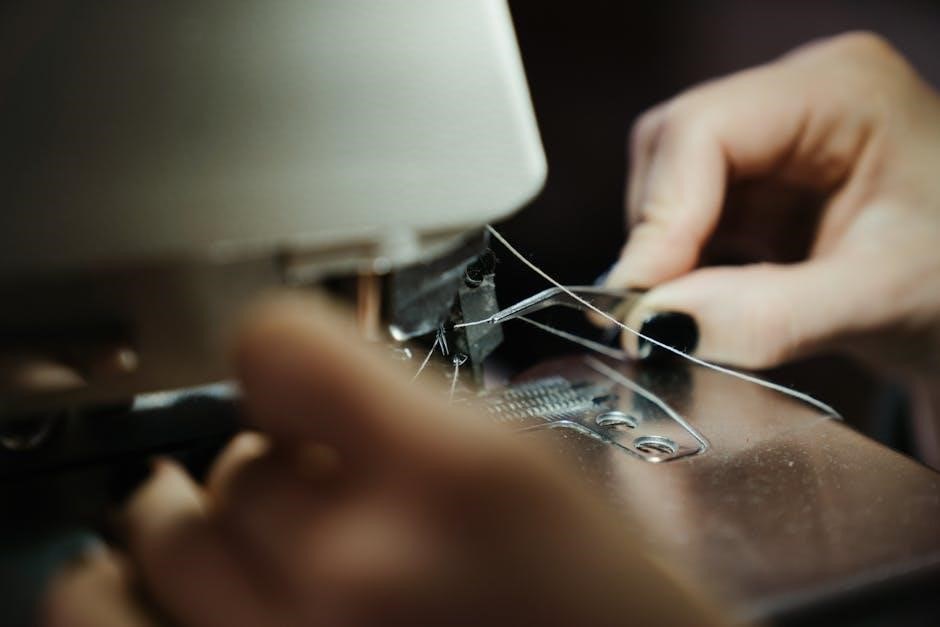
Proper threading is essential for smooth operation. Follow the manual’s guide to correctly thread the upper and bobbin thread‚ ensuring proper tension and alignment for optimal stitching.
3.1 Step-by-Step Guide to Threading the Machine
Begin by turning off the machine. Locate the spool pins and thread guides. 2. Insert the thread through the upper tension discs. 3. Lead the thread through the take-up lever and needle bar. 4. Gently pull the thread to set the tension. 5. Guide the thread through the bobbin case‚ ensuring it aligns properly. 6. Finally‚ thread the needle and test the machine to ensure smooth operation.
3.2 Common Threading Mistakes to Avoid
Ensure the thread isn’t tangled or twisted. Avoid overtightening the upper thread‚ as it may cause uneven tension. Don’t overlook the take-up lever‚ as incorrect alignment can lead to poor stitching. Never thread the machine without the presser foot up‚ and always test the thread by sewing on scrap fabric before starting your project.
Bobbin and Bobbin Case Management
Properly winding and threading the bobbin ensures smooth stitching. Always use the correct size bobbin and secure it firmly in the case to avoid thread issues during sewing.
4.1 Winding the Bobbin Correctly
Winding the bobbin evenly is crucial for consistent stitching. Place an empty bobbin on the winder‚ pull thread from the spool‚ and wind slowly. Avoid overfilling‚ as this can cause tension issues. Secure the bobbin in the case‚ ensuring the thread flows smoothly. Proper winding prevents tangles and ensures smooth operation of the Singer 237 sewing machine.
4.2 Threading the Bobbin Case Properly
Insert the thread into the bobbin case’s designated slot‚ ensuring it aligns with the tension spring. Gently pull the thread to secure it in place. Make sure the thread passes through the case’s tension mechanism correctly. Proper threading ensures even stitch formation and prevents issues like thread breakage or uneven tension during sewing.
4.3 Removing and Replacing the Bobbin Case
To remove the bobbin case‚ gently lift the latch or slide it out. Check for lint or debris and clean if necessary. When replacing‚ align the case properly with the machine’s hook mechanism. Ensure it clicks securely into place to maintain proper thread flow and prevent sewing interruptions. Proper installation is crucial for smooth operation.
Adjusting Thread Tension
Proper thread tension ensures even stitching. Adjust the dials gently‚ check the fabric‚ and test the stitch quality to achieve balanced tension for smooth sewing.
5.1 Understanding Thread Tension and Its Importance
Thread tension is crucial for consistent stitching. Proper tension prevents loose threads or puckering‚ ensuring professional results. Incorrect settings can cause breakage or uneven fabric feeding‚ making adjustment essential for optimal performance and durability of your Singer 237 sewing machine.
5.2 How to Regulate the Needle and Bobbin Thread Tension
Adjust the needle tension by gently turning the tension disc or knob‚ ensuring it’s not too tight or loose. For the bobbin‚ thread it correctly and adjust its case tension by turning the small screw. Always test stitches on scrap fabric to ensure even tension‚ preventing issues like thread breakage or uneven stitching.

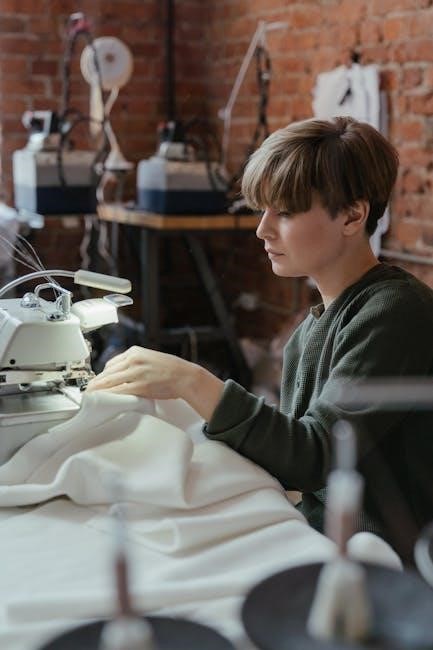
Operating the Singer Sewing Machine 237
Start the machine by pressing the speed controller. Practice operating it without thread to ensure smooth functionality. The Singer 237 offers both electric and treadle drive options for ease of use.
6.1 Starting the Machine and Basic Controls
To start the Singer 237‚ press the speed controller gently. Adjust the controller to regulate stitching speed. Familiarize yourself with basic controls‚ such as thread tension knobs and fabric feed mechanisms‚ to ensure smooth operation.
6.2 Using the Electric Drive System
To operate the Singer 237 using the electric drive system‚ first ensure the machine is properly plugged in. Engage the motor by flipping the power switch. Use the speed control to adjust stitching speed‚ allowing for precise fabric handling. Always monitor thread flow and fabric movement to ensure smooth‚ consistent stitching. This system provides efficient and reliable sewing performance.
6.3 Operating the Machine with a Treadle Drive
To use the treadle drive‚ attach it securely to the machine. Start by pressing the treadle gently with your foot to test the motion. Gradually increase speed as needed for consistent stitching. Ensure the belt is properly aligned and tensioned for smooth operation. Always monitor the machine’s rhythm to maintain control and achieve desired results.
Stitch Selection and Operation
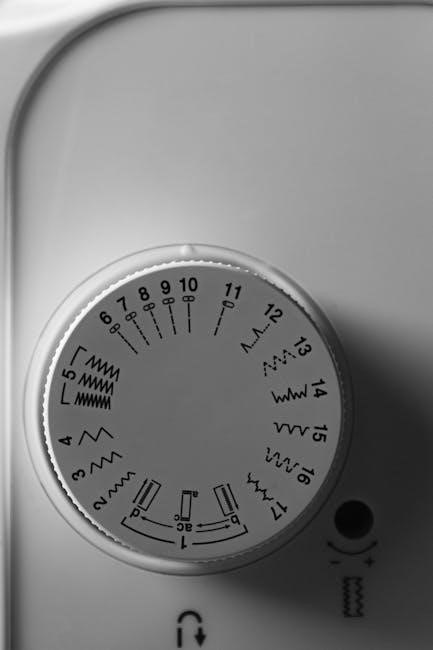
Explore various stitch options on the Singer 237‚ including straight‚ zigzag‚ and decorative stitches. Learn how to select and adjust stitch length and width for perfect results.
7.1 Types of Stitches Available on the Singer 237
The Singer 237 offers a variety of stitches‚ including straight stitch‚ zigzag stitch‚ and decorative stitches. These stitches cater to different fabric types and sewing projects‚ ensuring versatility. The machine also features adjustable stitch length and width‚ allowing customization for precise sewing results. This makes it ideal for both basic and creative sewing tasks.
7.2 Selecting and Sewing with Straight Stitch
The Singer 237 features a straight stitch option‚ ideal for general sewing and seaming. To select it‚ choose the straight stitch setting on the stitch selector. Guide fabric smoothly under the presser foot‚ maintaining steady speed for consistent results. This stitch is perfect for straight-line sewing‚ repairs‚ and lightweight fabrics‚ ensuring professional-looking seams every time.
7.3 Sewing with Zig Zag Stitch
The Singer 237 offers a versatile zigzag stitch‚ perfect for stretchy fabrics‚ decorative edges‚ and preventing fraying. Select the zigzag option on the stitch selector and adjust the width and length for desired results. Guide the fabric smoothly under the presser foot to ensure even stitching. This stitch is ideal for both functional and creative sewing projects‚ enhancing your sewing experience with flexibility and style.
Troubleshooting Common Issues
Identify and resolve issues like thread breakage‚ tension problems‚ or machine jamming by checking thread paths‚ ensuring proper setup‚ and maintaining the machine regularly for smooth operation.
8.1 Diagnosing and Solving Thread Breakage
Thread breakage often occurs due to incorrect threading‚ improper tension‚ or using the wrong needle size. Check the thread path for tangles‚ ensure the needle is correctly inserted‚ and verify tension settings. Retrace the threading process‚ making sure the thread follows the machine’s guide accurately. Adjusting the tension or replacing the needle can resolve most issues effectively.
8.2 Fixing Issues with the Bobbin and Tension
Bobbin issues often arise from improper threading or incorrect tension. Ensure the bobbin case is securely seated and the thread is evenly wound. Adjust the bobbin tension by gently tightening or loosening the small screw on the case. Test stitches on scrap fabric to ensure balanced tension. If issues persist‚ refer to the manual for detailed adjustment guidance.
8.3 Addressing Machine Jamming or Noise
Machine jamming or noise often results from tangled threads‚ incorrect needle usage‚ or improper fabric handling. To resolve‚ turn off the machine‚ remove any tangled thread‚ and clean lint. Re-thread the machine and ensure the bobbin is correctly seated. If noise persists‚ lubricate moving parts and check thread tension. Always refer to the manual for specific adjustment guidance to restore smooth operation.

Maintenance and Care of the Singer 237
Regular cleaning removes lint and debris‚ ensuring smooth operation. Oiling keeps moving parts lubricated‚ while proper storage protects the machine from dust and damage‚ maintaining its performance.
9.1 Cleaning the Machine Regularly
Regular cleaning is essential for maintaining your Singer 237’s performance. Gently remove lint and debris from the bobbin area and tension discs using a small brush or compressed air. Avoid using harsh chemicals; instead‚ wipe down with a soft cloth. Regular cleaning prevents dust buildup‚ ensures smooth operation‚ and keeps your machine in top condition.
9.2 Oiling the Machine for Smooth Operation
Oiling is crucial for maintaining the Singer 237’s mechanical components. Apply a few drops of high-quality sewing machine oil to the hook area‚ shuttle race‚ and other moving parts. Avoid over-oiling to prevent lint buildup. Regular lubrication ensures smooth operation‚ reduces friction‚ and prevents wear. Always oil after cleaning to keep your machine running quietly and efficiently.
9.3 Storing the Machine Properly
Proper storage ensures longevity and protection of your Singer 237. After cleaning‚ store the machine in a dry‚ cool place‚ away from direct sunlight and moisture. Use a protective cover to prevent dust buildup. Avoid extreme temperatures or humidity. Store the machine in its original case or a sturdy‚ padded bag for added protection during transportation or extended storage periods.
Accessories and Attachments
Explore the range of accessories designed for the Singer 237‚ including presser feet‚ bobbins‚ and machine cases. This section highlights their uses and benefits for enhanced sewing.
10.1 Overview of Available Accessories
The Singer 237 sewing machine offers a variety of essential accessories‚ including presser feet for different fabrics‚ additional bobbins‚ and machine cases. These accessories enhance sewing efficiency and versatility‚ catering to both basic and advanced projects. The Singer Fashionmate and Style Mate models also support optional attachments‚ expanding your creative possibilities. Available resources include PDF manuals and service guides for easy reference.
10.2 Using Different Presser Feet for Various Fabrics
The Singer 237 supports various presser feet‚ each designed for specific fabrics and tasks. Use the zigzag foot for general sewing‚ the straight stitch foot for precise seams‚ and specialized feet for delicate or heavy fabrics. This versatility ensures optimal results‚ whether working with cotton‚ silk‚ or denim‚ enhancing both accuracy and efficiency in your sewing projects.
Singer 237 Sewing Machine Features and Benefits
The Singer 237 offers a range of features‚ including multiple stitch options‚ adjustable tension‚ and a built-in free-arm‚ making it ideal for both home sewing and crafting projects. Its durability and ease of use provide long-lasting performance‚ catering to sewists of all skill levels with versatility and reliability.
11.1 Key Features of the Singer 237 Model
The Singer 237 model boasts a robust construction‚ featuring an electric drive system‚ multiple stitch options‚ and an automatic tension control. It includes a free-arm design for versatile sewing‚ a built-in light for better visibility‚ and compatibility with various presser feet‚ making it suitable for both straight and zigzag stitching‚ as well as heavy-duty fabrics.
11.2 Benefits for Home Sewing and Crafting
The Singer 237 is ideal for home sewing and crafting‚ offering versatility and reliability. Its durable design handles various fabrics‚ from delicate to heavy-duty‚ while multiple stitch options and automatic tension simplify tasks like repairs‚ decorative stitching‚ and quilting. The machine’s ease of use and compatibility with different presser feet make it perfect for both beginners and experienced crafters‚ ensuring professional results.
Singer 237 Sewing Machine Repair and Service
Regular maintenance and professional repair ensure optimal performance. Genuine Singer parts guarantee durability and reliability for any necessary fixes‚ extending the machine’s lifespan effectively.
12.1 When to Seek Professional Repair
Professional repair is essential for complex issues like faulty electrical systems or internal mechanical damage. Always use genuine Singer parts to ensure reliability. Contact authorized service centers for expertise‚ especially when self-repair might cause further damage. Regular maintenance can prevent major repairs‚ but for serious problems‚ trusting professionals guarantees optimal results and extends the machine’s lifespan effectively.
12.2 Finding Genuine Singer Replacement Parts
To maintain your Singer 237’s performance‚ always use genuine replacement parts. These can be sourced from Singer’s official website‚ authorized dealers‚ or trusted sewing supply stores. Avoid counterfeit parts‚ as they may compromise the machine’s functionality. Genuine parts ensure durability and reliability‚ keeping your Singer 237 in optimal working condition for years to come.
Singer 237 Sewing Machine Manual Resources
Access the Singer 237 manual online through Singer’s official website or authorized dealers. Download or purchase PDF versions for detailed instructions and troubleshooting guides‚ ensuring optimal machine operation.
13.1 Where to Download or Purchase the Manual
The Singer 237 manual can be downloaded as a PDF from Singer’s official website or purchased from authorized dealers. Third-party marketplaces like eBay and Etsy also offer high-quality reprints. Ensure authenticity by purchasing from trusted sources to access accurate instructions and diagrams for optimal machine operation and maintenance.
13.2 Additional Resources for Troubleshooting and Operation
Beyond the manual‚ Singer offers online resources‚ including instructional videos and FAQs. Forums like Singer’s official website and sewing communities provide troubleshooting tips. Reprints of service manuals and parts diagrams are also available on platforms like eBay and Etsy‚ ensuring comprehensive support for optimal machine performance and resolving common issues efficiently.
Singer Customer Support and Warranty Information
Singer provides customer support through their official website and phone. The warranty covers repairs and replacements‚ offering users reliable assistance and peace of mind.
14.1 Contacting Singer Customer Service
Reach Singer Customer Service through their official website‚ email‚ or toll-free number. The support team assists with inquiries‚ repair requests‚ and warranty claims. Visit Singer’s support page for contact details and online resources to resolve your Singer 237 sewing machine issues efficiently.
14.2 Understanding the Warranty and Support Options
The Singer 237 sewing machine comes with a limited warranty covering defects in materials and workmanship. Singer offers dedicated customer support through their website‚ email‚ and phone. Additional resources‚ such as repair manuals and FAQs‚ are available online to help users troubleshoot and maintain their machine effectively. Visit Singer’s official website for detailed warranty terms and support options.
Mastering your Singer 237 sewing machine is easy with this manual. Follow the guidelines for optimal performance‚ and enjoy seamless stitching‚ creative projects‚ and lasting durability.
15.1 Final Tips for Getting the Most Out of Your Singer 237
Regularly clean and oil your Singer 237 to ensure smooth operation. Always thread correctly and maintain proper tension. Store the machine in a dry place and use genuine parts for repairs. Practice on scrap fabric before sewing projects. Refer to the manual for troubleshooting and maintenance tips to prolong its lifespan and performance.