Craftsman Garage Door Opener Instructions: A Comprehensive Guide
Navigating Craftsman opener issues? This guide delivers expert repair‚ replacement‚ installation‚ and maintenance advice‚ ensuring smooth operation and extending your opener’s lifespan.
Understanding Your Craftsman Garage Door Opener Model
Identifying your specific Craftsman model is crucial for accurate troubleshooting and repair. Different models – including chain drive‚ belt drive‚ and direct drive – have unique components and programming procedures. Refer to the opener’s housing or manual for the model number.
Knowing this allows access to the correct replacement parts and tailored instructions‚ maximizing repair success and ensuring optimal performance of your garage door system.
Safety Precautions Before You Begin
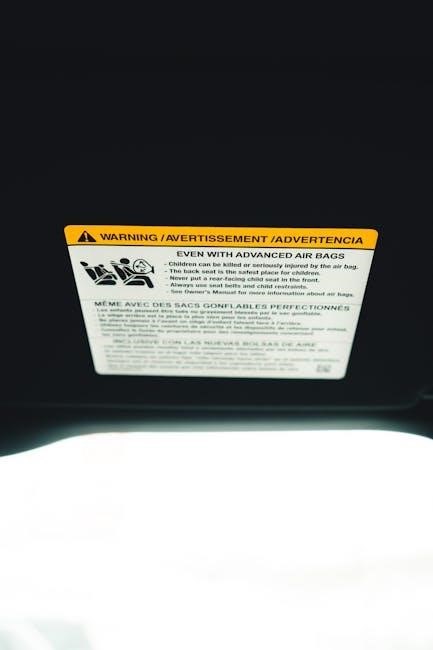
Prioritize safety! Disconnect the garage door opener from its power source before any inspection or repair. Never work under a partially open door; secure it in the open position. Wear safety glasses to protect your eyes.
If unsure about any step‚ consult a qualified technician. Garage doors are heavy and can cause serious injury if mishandled – caution is paramount.
Initial Setup and Programming
Begin with the basics! Ensure the door is balanced and moves smoothly. Connect the opener to power‚ then program travel limits – up and down – to prevent overextension. Next‚ program remote controls following the manufacturer’s instructions‚ typically involving a ‘learn’ button on the unit.
Setting the Travel Limits
Adjusting limits is crucial! Use the adjustment screws on the unit to define how far the door opens and closes. Slowly adjust upwards for more travel‚ downwards for less. Test frequently‚ ensuring the door doesn’t strain or reverse prematurely. Precise limits prevent damage and ensure safe operation.
Programming the Remote Controls
Effortlessly link remotes! Locate the “Learn” button on the opener unit – it’s usually yellow or orange. Press it‚ then within 30 seconds‚ press the desired button on your remote. Repeat for each remote. Successful programming is indicated by the opener lights flashing or the door moving slightly.
Troubleshooting Common Issues
Facing frustrating problems? Common issues include doors failing to close‚ reversing mid-cycle‚ or lights malfunctioning. Often‚ these stem from sensor misalignment‚ travel limit settings‚ or a depleted remote battery. This section provides targeted solutions to quickly diagnose and resolve these frequent opener hiccups.
Garage Door Won’t Close
Is your door stubbornly refusing to close? First‚ check the safety sensors – ensure they’re aligned and free of obstructions. Verify the travel limits are correctly set. A disconnected or faulty wall control‚ or a depleted remote battery‚ could also be the culprit. Inspect wiring for damage.
Garage Door Reverses After Closing
Experiencing frustrating reversals? This often indicates a sensitivity issue with the safety sensors. Adjust the sensor eyes or clean their lenses. Check for obstructions in the door’s path. Incorrectly set travel limits or a binding door can also cause this. Inspect springs for proper tension.
Garage Door Opener Light Not Working
A non-functional light can signal several problems. First‚ check if the bulb is securely fastened and hasn’t burned out. Verify the light switch is in the ‘on’ position. A faulty wiring connection or a defective logic board could also be the culprit‚ requiring professional diagnosis.
Maintenance for Optimal Performance
Regular upkeep prevents costly repairs and extends your opener’s life. Inspect and lubricate moving parts like rollers‚ hinges‚ and the drive system. Clean the safety sensors frequently to ensure proper function. Check wiring for damage and tighten all connections for reliable operation.
Lubricating Moving Parts
Apply lithium-based grease to rollers‚ hinges‚ and the drive system. Avoid using oil‚ as it attracts dirt. Lubricate the chain or belt drive annually. Ensure the opener’s track is clean and free of debris before applying lubricant. This reduces friction‚ noise‚ and strain on the motor.
Cleaning the Sensors
Regularly wipe the safety sensors located near the garage door track with a soft cloth. Dust and debris can interfere with the beam‚ causing the door to reverse unexpectedly. Ensure the lenses are clean for optimal performance and safety. Proper sensor function is vital for preventing accidents.
Replacing the Battery in Your Remote
A weak battery is a common cause of remote failure. Open the remote’s casing‚ typically by sliding or prying it open. Replace the old battery with a fresh one of the correct type – usually a CR2032. Reassemble the remote and test its functionality to restore convenient garage door control.
Belt Drive Opener Specific Maintenance
Belt drive openers require unique care. Regularly inspect the belt for wear‚ cracks‚ or fraying‚ replacing it if needed. Check belt tension and adjust as per the manual. Lubricate the motor sprocket‚ but avoid lubricating the belt itself‚ as this attracts dust and reduces traction.
Diagnosing Motor Problems
A failing motor often presents with humming but no movement. Check for obstructions and verify power supply. If the motor runs but the door doesn’t move‚ the issue may lie within the gears or trolley. Listen for unusual grinding noises‚ indicating potential internal damage requiring professional attention.

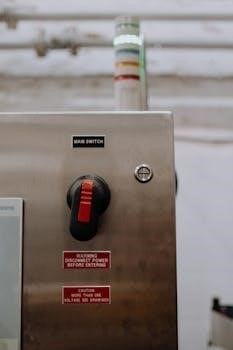
Understanding the Logic Board
The logic board is the ‘brain’ of your Craftsman opener‚ controlling all functions; Issues here can cause erratic behavior. Inspect for burnt components or loose connections. Resetting the board (disconnecting power) can sometimes resolve minor glitches‚ but complex failures usually necessitate board replacement by a qualified technician.
Craftsman Garage Door Opener Repair Services
Need professional assistance? A1 Garage Door Service provides top-rated Craftsman opener repair and installation by certified experts. They offer fast‚ affordable service near you‚ including belt drive maintenance. Don’t hesitate to seek qualified help for complex issues or when DIY attempts prove unsuccessful – safety first!

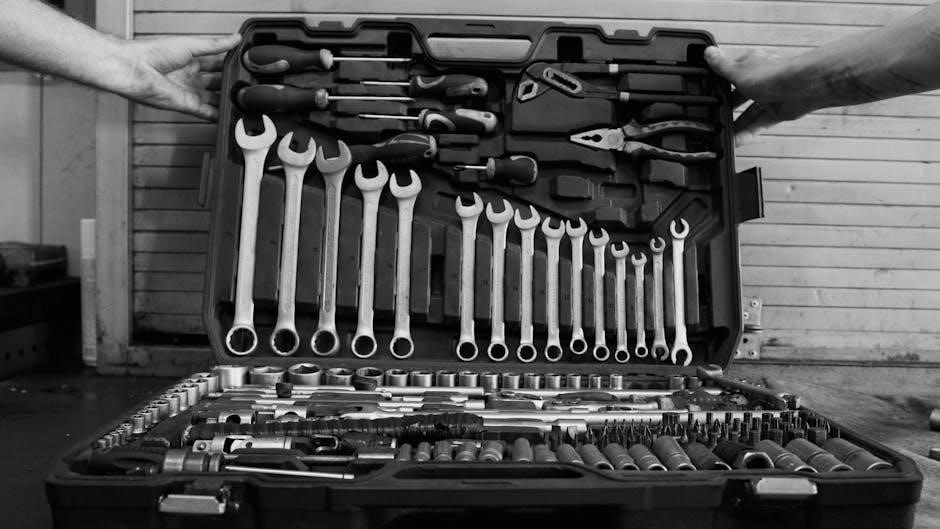
Finding Replacement Parts
Locating specific components is key! While Craftsman’s availability can vary‚ online retailers and dedicated garage door parts suppliers often stock replacements. Knowing your opener’s model number is crucial for accurate searches. Consider contacting local repair services; they may sell parts directly to customers as well.
Downloading Craftsman Garage Door Opener Manuals
Lost documentation doesn’t mean lost functionality! Numerous websites archive Craftsman garage door opener manuals for instant download. Having the correct manual provides detailed diagrams‚ troubleshooting steps‚ and safety information. Search by model number to quickly locate the specific guide for your opener‚ saving you time and frustration.
Craftsman Power Tools and Garage Maintenance
Extend your garage’s functionality! Craftsman offers a robust line of power tools – drills‚ saws‚ and more – ideal for garage organization and repairs. Combining reliable tools with proactive garage door opener maintenance ensures a safe‚ efficient‚ and well-equipped workspace for all your projects.
Craftsman: Building Craft ‒ A Related Digital Experience
Unleash your creativity! Craftsman: Building Craft‚ a free simulation game‚ offers a sandbox environment for designing and constructing structures. Similar to Minecraft‚ it’s a delightful escape‚ allowing you to build anything imaginable – a perfect complement to maintaining your real-world garage and opener!
When to Call a Professional
Don’t risk further damage! If troubleshooting fails‚ or you’re uncomfortable with repairs‚ contact certified experts like A1 Garage Door Service. Complex motor problems‚ logic board issues‚ or extensive damage require professional attention for safe and effective Craftsman opener repair or replacement.
Unlock seamless operation! This guide provides detailed Craftsman opener repair‚ maintenance‚ and programming steps‚ ensuring a secure and convenient garage door experience.
Identifying your specific Craftsman model is crucial for accurate troubleshooting and repair. Locate the model number on the opener unit itself – often on a sticker near the motor. Knowing this allows access to the correct manuals and parts lists.
Chamberlain acquired Craftsman‚ so some parts are interchangeable. Understanding horsepower (typically 1/2 HP) and drive type (chain‚ belt‚ or screw) also informs maintenance needs and potential issues.

Prioritize safety! Disconnect the garage door opener from its power source before any inspection or repair. Never work under a door supported only by the opener. Use sturdy supports if manual operation is needed.
Wear eye protection. Be mindful of spring tension – a broken spring can cause serious injury. If unsure about any step‚ consult a professional; don’t risk personal harm.

Begin by ensuring proper alignment and secure mounting of your Craftsman opener. Download the specific manual for your model – it’s crucial! Programming typically involves setting the travel limits and then pairing your remote controls.
Follow the manual’s instructions carefully for a smooth‚ functional setup‚ avoiding potential operational issues later on.
Precisely adjust the up and down travel limits to prevent your garage door from over-opening or slamming shut. Utilize the adjustment screws on the unit‚ making small increments while observing the door’s movement.
Refer to your model’s manual for specific instructions; accurate limits are vital for safe and reliable operation‚ avoiding potential damage.
Effortlessly link new remotes to your Craftsman opener! Typically‚ locate the “Learn” button on the opener unit and press it. Within 30 seconds‚ press the desired button on your remote.
The door should activate‚ confirming successful programming. Repeat for additional remotes; consult your manual for model-specific procedures.
Facing frustrating garage door problems? This section tackles frequent concerns like doors failing to close‚ reversing unexpectedly‚ or experiencing light malfunctions.

We’ll guide you through diagnosing these issues‚ offering practical solutions to restore functionality and prevent further complications‚ potentially saving on repair costs.
Is your Craftsman garage door refusing to close completely? First‚ check the safety sensors – ensure they’re aligned and free of obstructions. Verify the travel limits are correctly set‚ and the remote control batteries aren’t depleted.

A malfunctioning motor or logic board could also be the culprit‚ requiring further investigation.
Experiencing a frustrating reversal after your Craftsman door closes? This often indicates a sensitivity issue with the safety sensors. Adjust the sensor eyes or clear any obstructions in their path. Incorrect travel limit settings can also cause this‚ so double-check those adjustments.
A spring imbalance might also be the reason.
Is your Craftsman opener’s light out? First‚ verify the bulb isn’t simply burned out and replace it if needed. Check the light’s switch setting – some openers have an ‘off’ position. A faulty wiring connection or a defective logic board could also be the culprit‚ requiring further inspection.
Consider a power surge.
Proactive maintenance prevents costly repairs! Regularly inspect and lubricate all moving parts – rollers‚ hinges‚ and springs – with a silicone-based lubricant. Clean the safety sensors meticulously; dirt obstructs the beam. Ensure all wiring connections are secure‚ preventing intermittent issues and extending your opener’s life.
Keep it moving smoothly! Apply silicone-based lubricant to rollers‚ hinges‚ and springs. Avoid oil-based lubricants‚ as they attract dirt. Lubricate the opener’s chain or belt drive‚ and the keyway on the trolley. Regular lubrication reduces friction‚ minimizes noise‚ and extends the lifespan of your Craftsman opener.
Ensure safety and functionality! Regularly clean the photo-eye sensors located near the garage door tracks with a soft cloth. Dust and debris can interfere with the safety system. Align the sensors after cleaning‚ verifying the indicator lights are solid. Clean sensors guarantee the door reverses if an obstruction is detected.
Restore remote control access! Open the remote casing‚ typically with a small screwdriver. Replace the old battery with a fresh one‚ ensuring correct polarity. Reassemble the remote and test its functionality. A new battery quickly restores convenient garage door operation‚ eliminating frustrating access issues.
Maintain quiet operation! Regularly inspect the belt for wear and tension‚ adjusting as needed. Clean the belt drive system to remove debris. Lubricate the motor and bearings‚ avoiding belt contact. Proper maintenance extends the lifespan of your belt drive‚ ensuring smooth‚ quiet performance for years.
Is your motor humming but not moving the door? Check for obstructions and verify power supply. A capacitor issue can cause failure to start. Listen for unusual noises – grinding suggests internal damage. If the motor overheats‚ allow it to cool before attempting restart; professional help may be needed.
The logic board is the ‘brain’ of your opener. It controls safety sensors‚ travel limits‚ and motor functions. Troubleshooting often involves checking wiring connections and visually inspecting for burnt components. Replacement requires careful matching of part numbers; improper installation can cause malfunctions or safety hazards.
Need professional assistance? A1 Garage Door Service offers certified experts for Craftsman opener repair‚ replacement‚ and installation. Fast‚ affordable service addresses motor issues‚ sensor problems‚ and more. Local technicians provide reliable solutions‚ ensuring your garage door operates safely and efficiently‚ saving you time and potential headaches.
Locating specific components is key! While direct sourcing can vary‚ online retailers and dedicated garage door parts suppliers often stock Craftsman opener parts. Identifying your model number is crucial for compatibility. Consider contacting local repair services; they may sell parts directly or guide you to reliable sources.
Lost documentation doesn’t mean lost functionality! Numerous online resources offer downloadable Craftsman garage door opener manuals. These digital copies provide detailed diagrams‚ troubleshooting steps‚ and safety information. Quickly access instructions‚ saving time and frustration‚ ensuring your opener operates smoothly and safely.
Extend your garage’s functionality with Craftsman! Beyond openers‚ Craftsman offers durable power tools ideal for garage upkeep. From drills for repairs to saws for building‚ equip yourself for comprehensive maintenance. Reliable tools ensure projects are completed efficiently‚ enhancing your garage’s overall organization and usability.
Unleash your creativity with Craftsman: Building Craft! This free simulation game mirrors the brand’s dedication to building and design. Construct structures‚ design landscapes‚ and explore a sandbox environment. It’s a delightful digital outlet for those who enjoy hands-on projects and imaginative construction‚ mirroring real-world craftsmanship.
Don’t risk injury or further damage! If troubleshooting fails‚ or you encounter complex issues like motor problems or logic board failures‚ contact certified Craftsman repair experts. Professional services ensure safe‚ correct repairs and installations‚ especially for belt drive systems‚ avoiding costly mistakes and guaranteeing optimal performance.